01
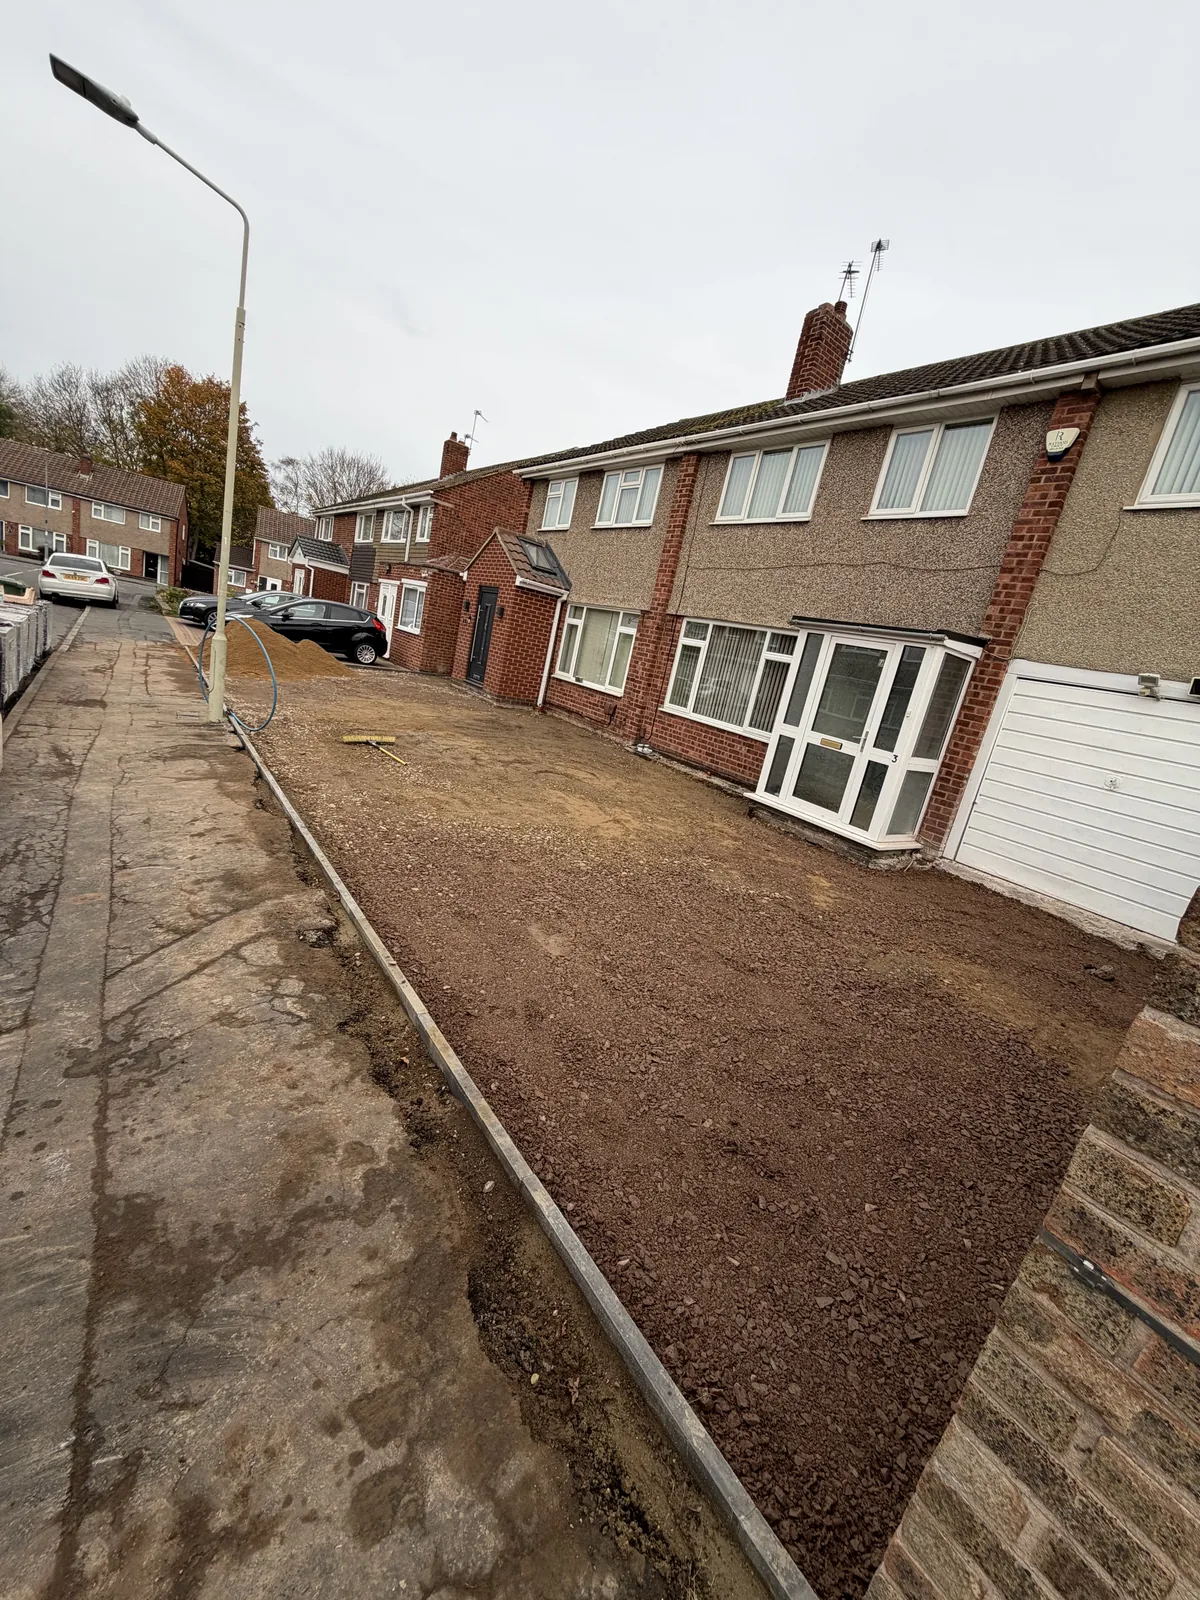
Before
The supplied before view shows the frontage prepared and ready for the finished surface.
Genuine GEM project · driveway transformation
The same frontage recorded at the prepared stage and again as a completed block-paved driveway with the finished lighting visible after dark.
The project
The client-supplied pair shows the frontage after preparation and again after the block paving and lighting were completed.
No excavation depth, sub-base specification, project cost, exact location or timescale is stated because those details have not been confirmed.
Project sequence
This job has one of the clearest photo sequences in the GEM archive, so the case study follows the actual visible progression rather than filling gaps with generic claims.
The supplied before view shows the frontage prepared and ready for the finished surface.
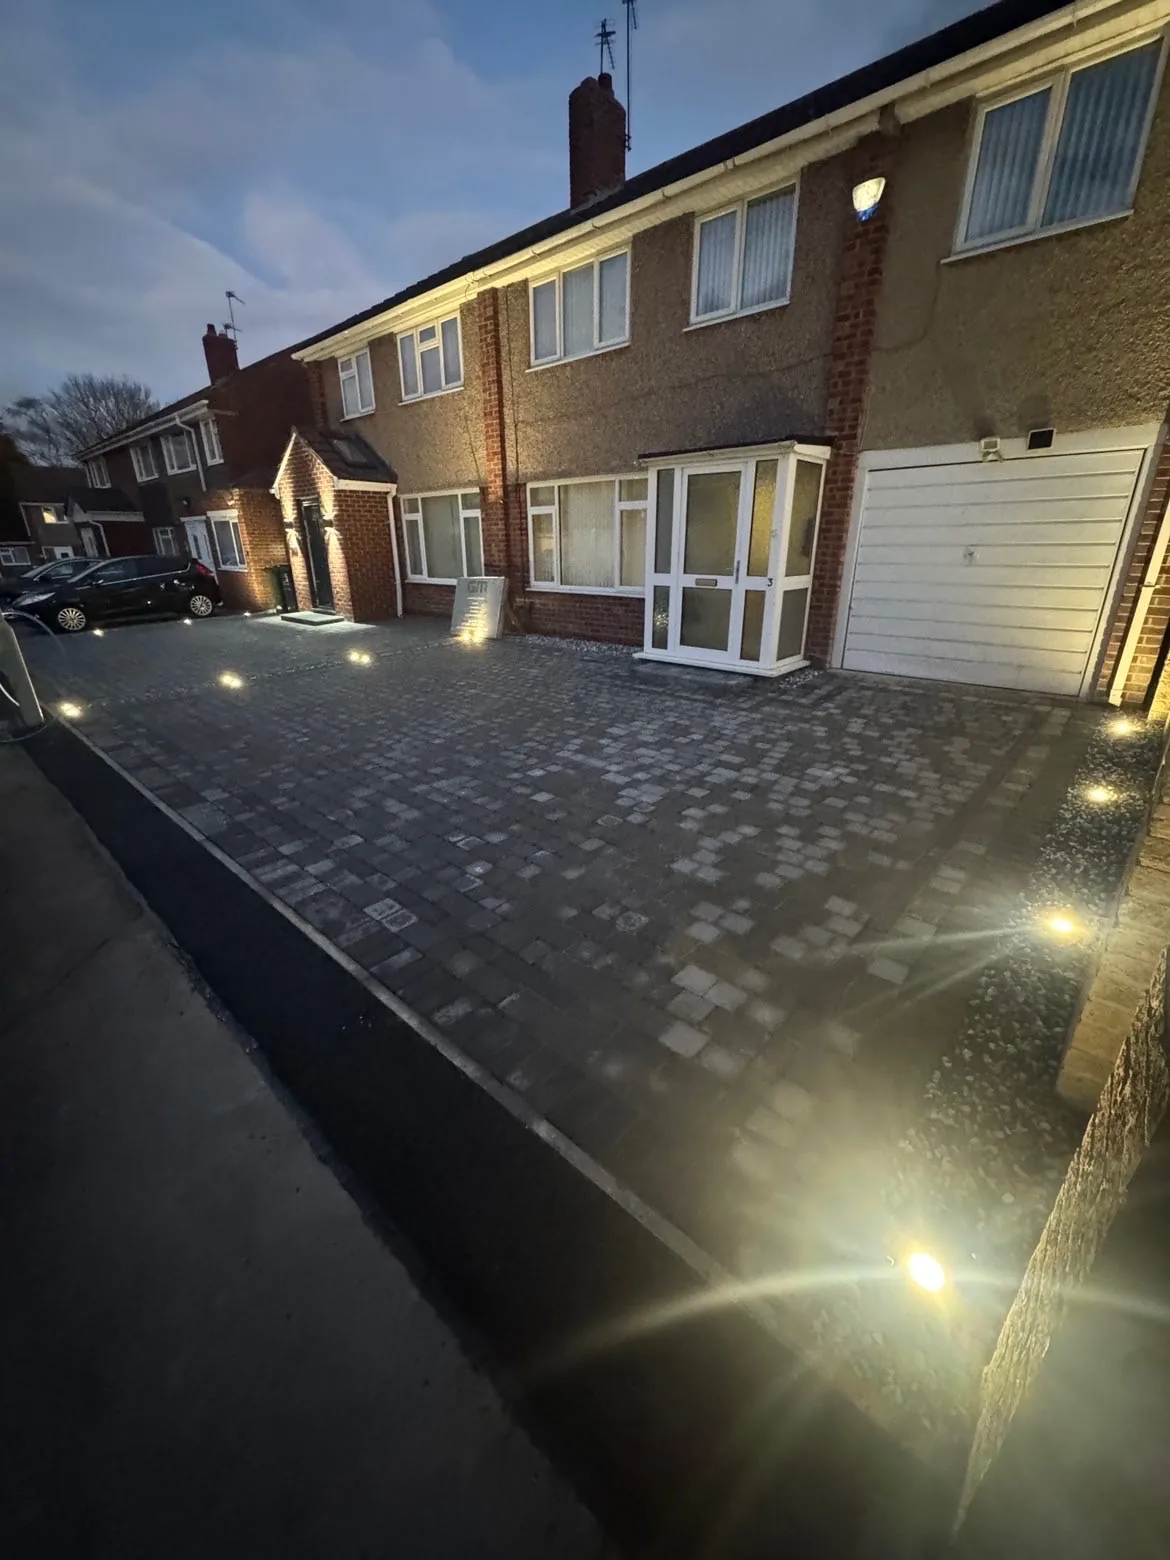
The supplied progress photographs record the original surface and lawn being removed across the new working area.
The next stage in the photo sequence shows the frontage prepared and levelled before the finished paving appears, with the perimeter and access route clearly defined.
The completed frontage reads as one paved space with defined edges and a much clearer route to the entrance.
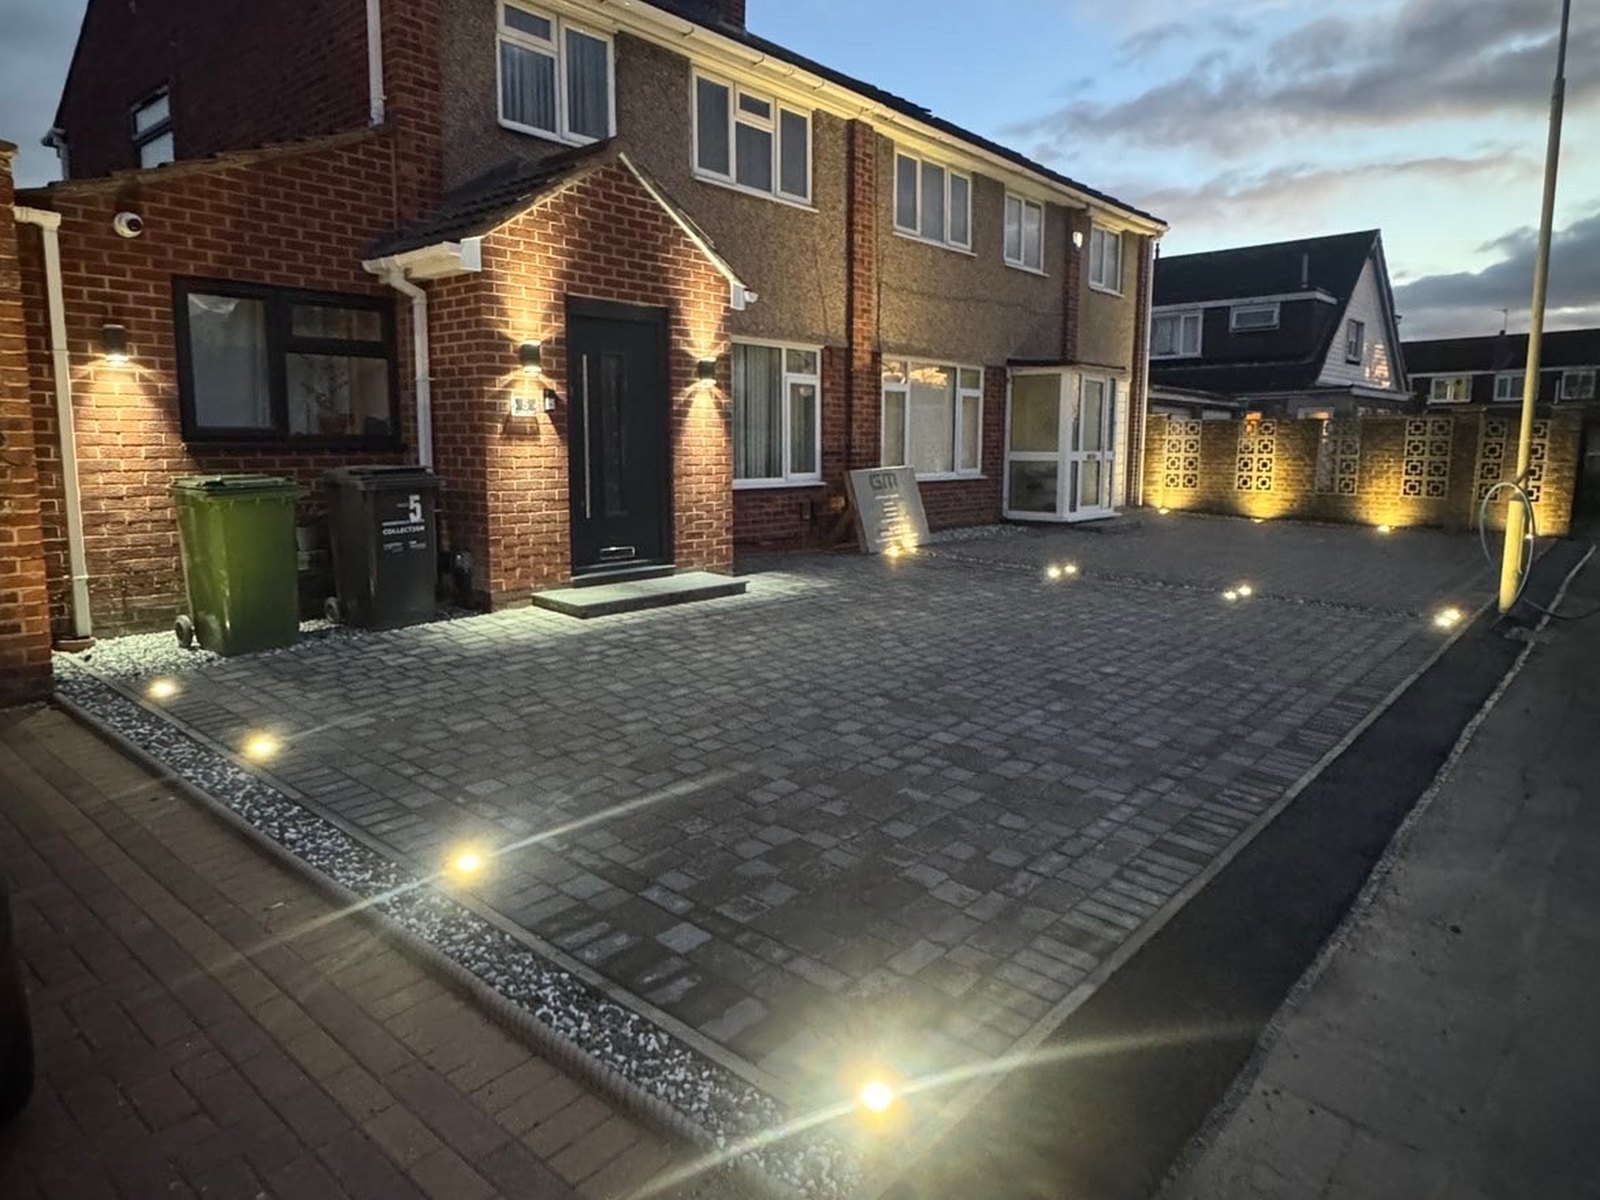
After dark, the entrance and paved approach are shown with the exterior lighting switched on, adding another view of the completed frontage.
Evidence note: the before, working-stage and finished photographs all belong to the same visible frontage. The wording describes the stages shown without inventing construction measurements or product specifications.
The change
The transformation takes the prepared frontage through to one completed block-paved driveway.
The practical detail
The finished surface still has to work around the pavement, garage, front door and boundaries visible around the property.
The result
The completed photographs show a tidier, more intentional frontage with a defined paved route across the property.
Planning a frontage project?
Planning something similar?
The case study shows the evidence available for this GEM project. A new site still needs its own checks rather than copying another property’s specification.
For a similar frontage, GEM checks vehicle access, pedestrian routes, thresholds and how the space needs to work day to day.
Falls, low points and surface-water movement are reviewed before the finished layout is agreed.
Boundaries, garage and door thresholds, lighting and the transition to the pavement all affect the final detailing.
Related services
GEM coverage
Have a similar space? Send the postcode, photos and an approximate size so GEM can assess the enquiry.
Start an enquiry →